macOS: Connect to a Network Printer
- Daniel Brashler
- Dan Schwartz
LTS network printers and Departmental network printers can be accessed from any computer connected to the Lehigh network.
Once you have a network printer's name, you can follow the steps below to connect to it.
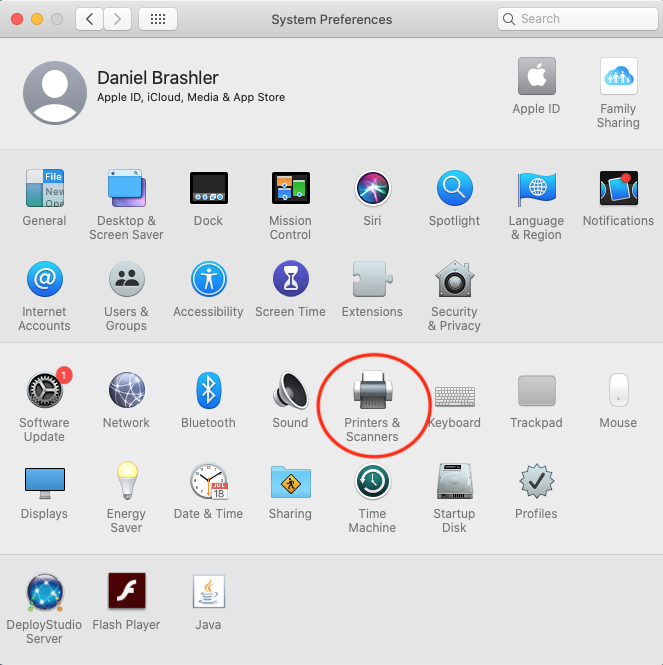
1. Click on the 'Apple' menu in the upper left-hand corner of the screen, and select 'System Preferences'. In that window, click on 'Printers & Scanners'.
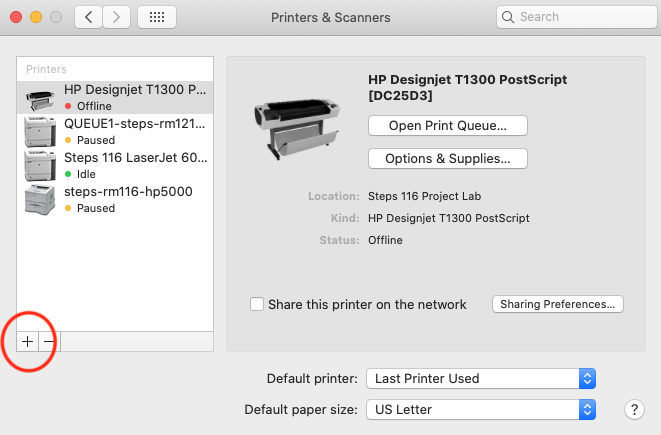
2. In the 'Printers & Scanners' preference pane, click the '+' at the bottom of the list of printers.
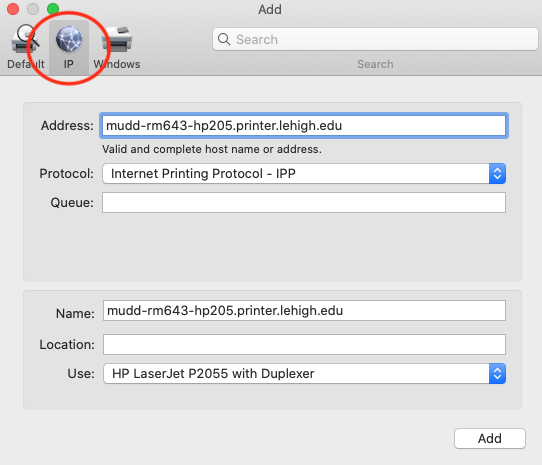
3. In the 'Add' dialog box,
- Click on the 'IP' tab, to specify a network name, and
- in the 'Address' box, type the printer's full network name.
- Click 'Add'.
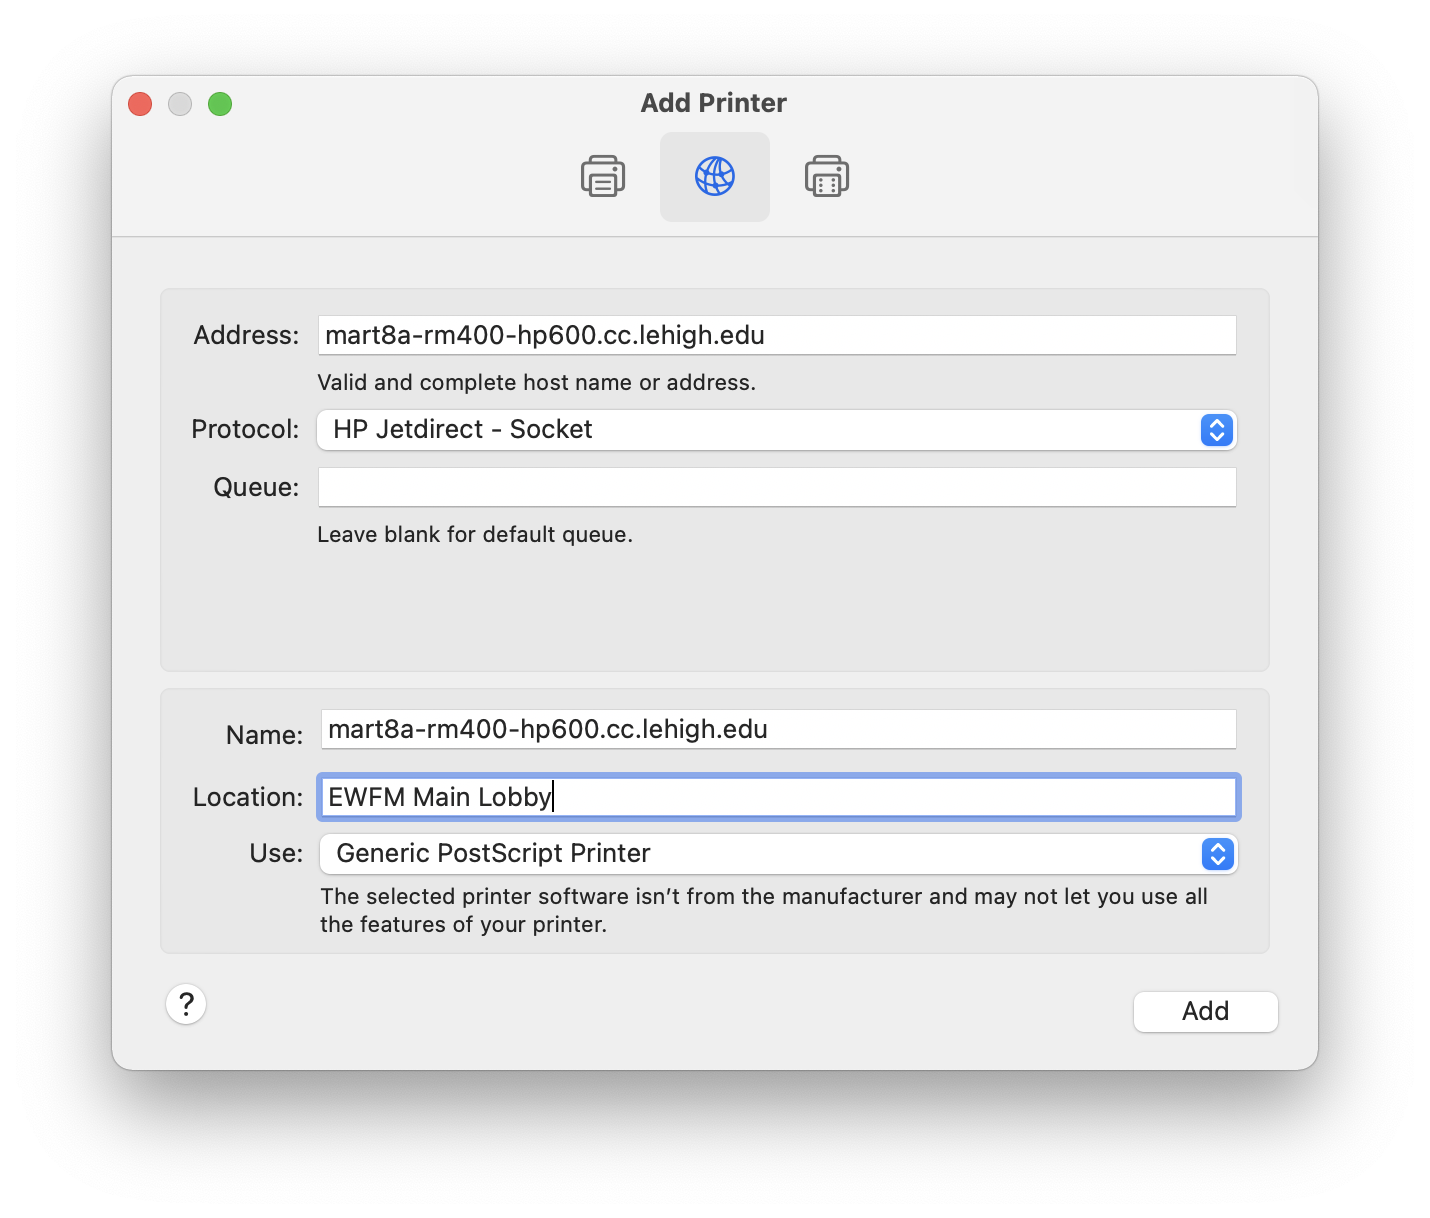
4. Set the Protocol to best match the type of device you're connecting to, e.g. "HP Jet Direct Socket" if you're connecting to an HP, "Line Printer Daemon" for an older printer, or "Internet Printing Protocol" for something fairly new.
Remember that the 'Name' box can say anything you want to describe that printer for your purposes, and the Location box can too.
5. Depending on the printer selected you may see dialog boxes about 'verifying' the printer on the network, or about selecting which available features for that model printer are installed on yours.
For example, a 'Duplexer' or 'Duplexing Unit' is a feature included in almost all Lehigh printers that allows for two-sided printing. Simply check off features you know exist, and Click 'OK'.

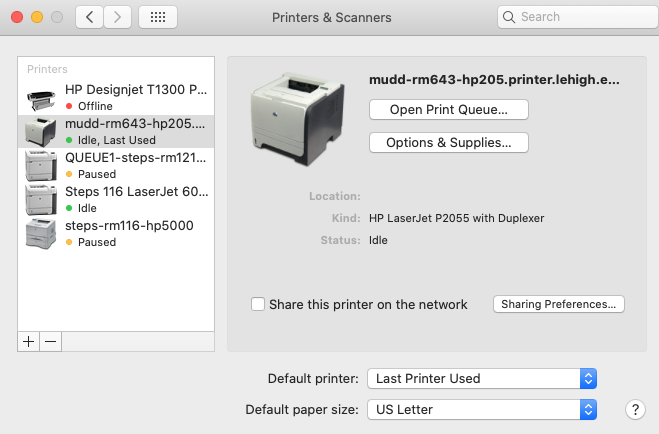
6. When the setup is complete, you'll see the printer listed, usually with a photo of the unit itself.
Related content
For immediate help, contact the LTS Help Desk (Hours)
EWFM Library | Call: 610-758-4357 (8-HELP) | Text: 610-616-5910 | Chat | helpdesk@lehigh.edu
Submit a help request (login required)