In order to connect to the Lehigh network, and many of the resources on it from an off-campus computer, users need to install the Cisco AnyConnect VPN client. This software encrypts your device's network traffic, and allows it to pass through a 'tunnel' over the internet, and onto the Lehigh network, allowing a remote device to function as if it were on campus.
The steps below describe the process of downloading and installing the software onto 'desktop' computer operating systems -- they're the the same for Windows and Mac.
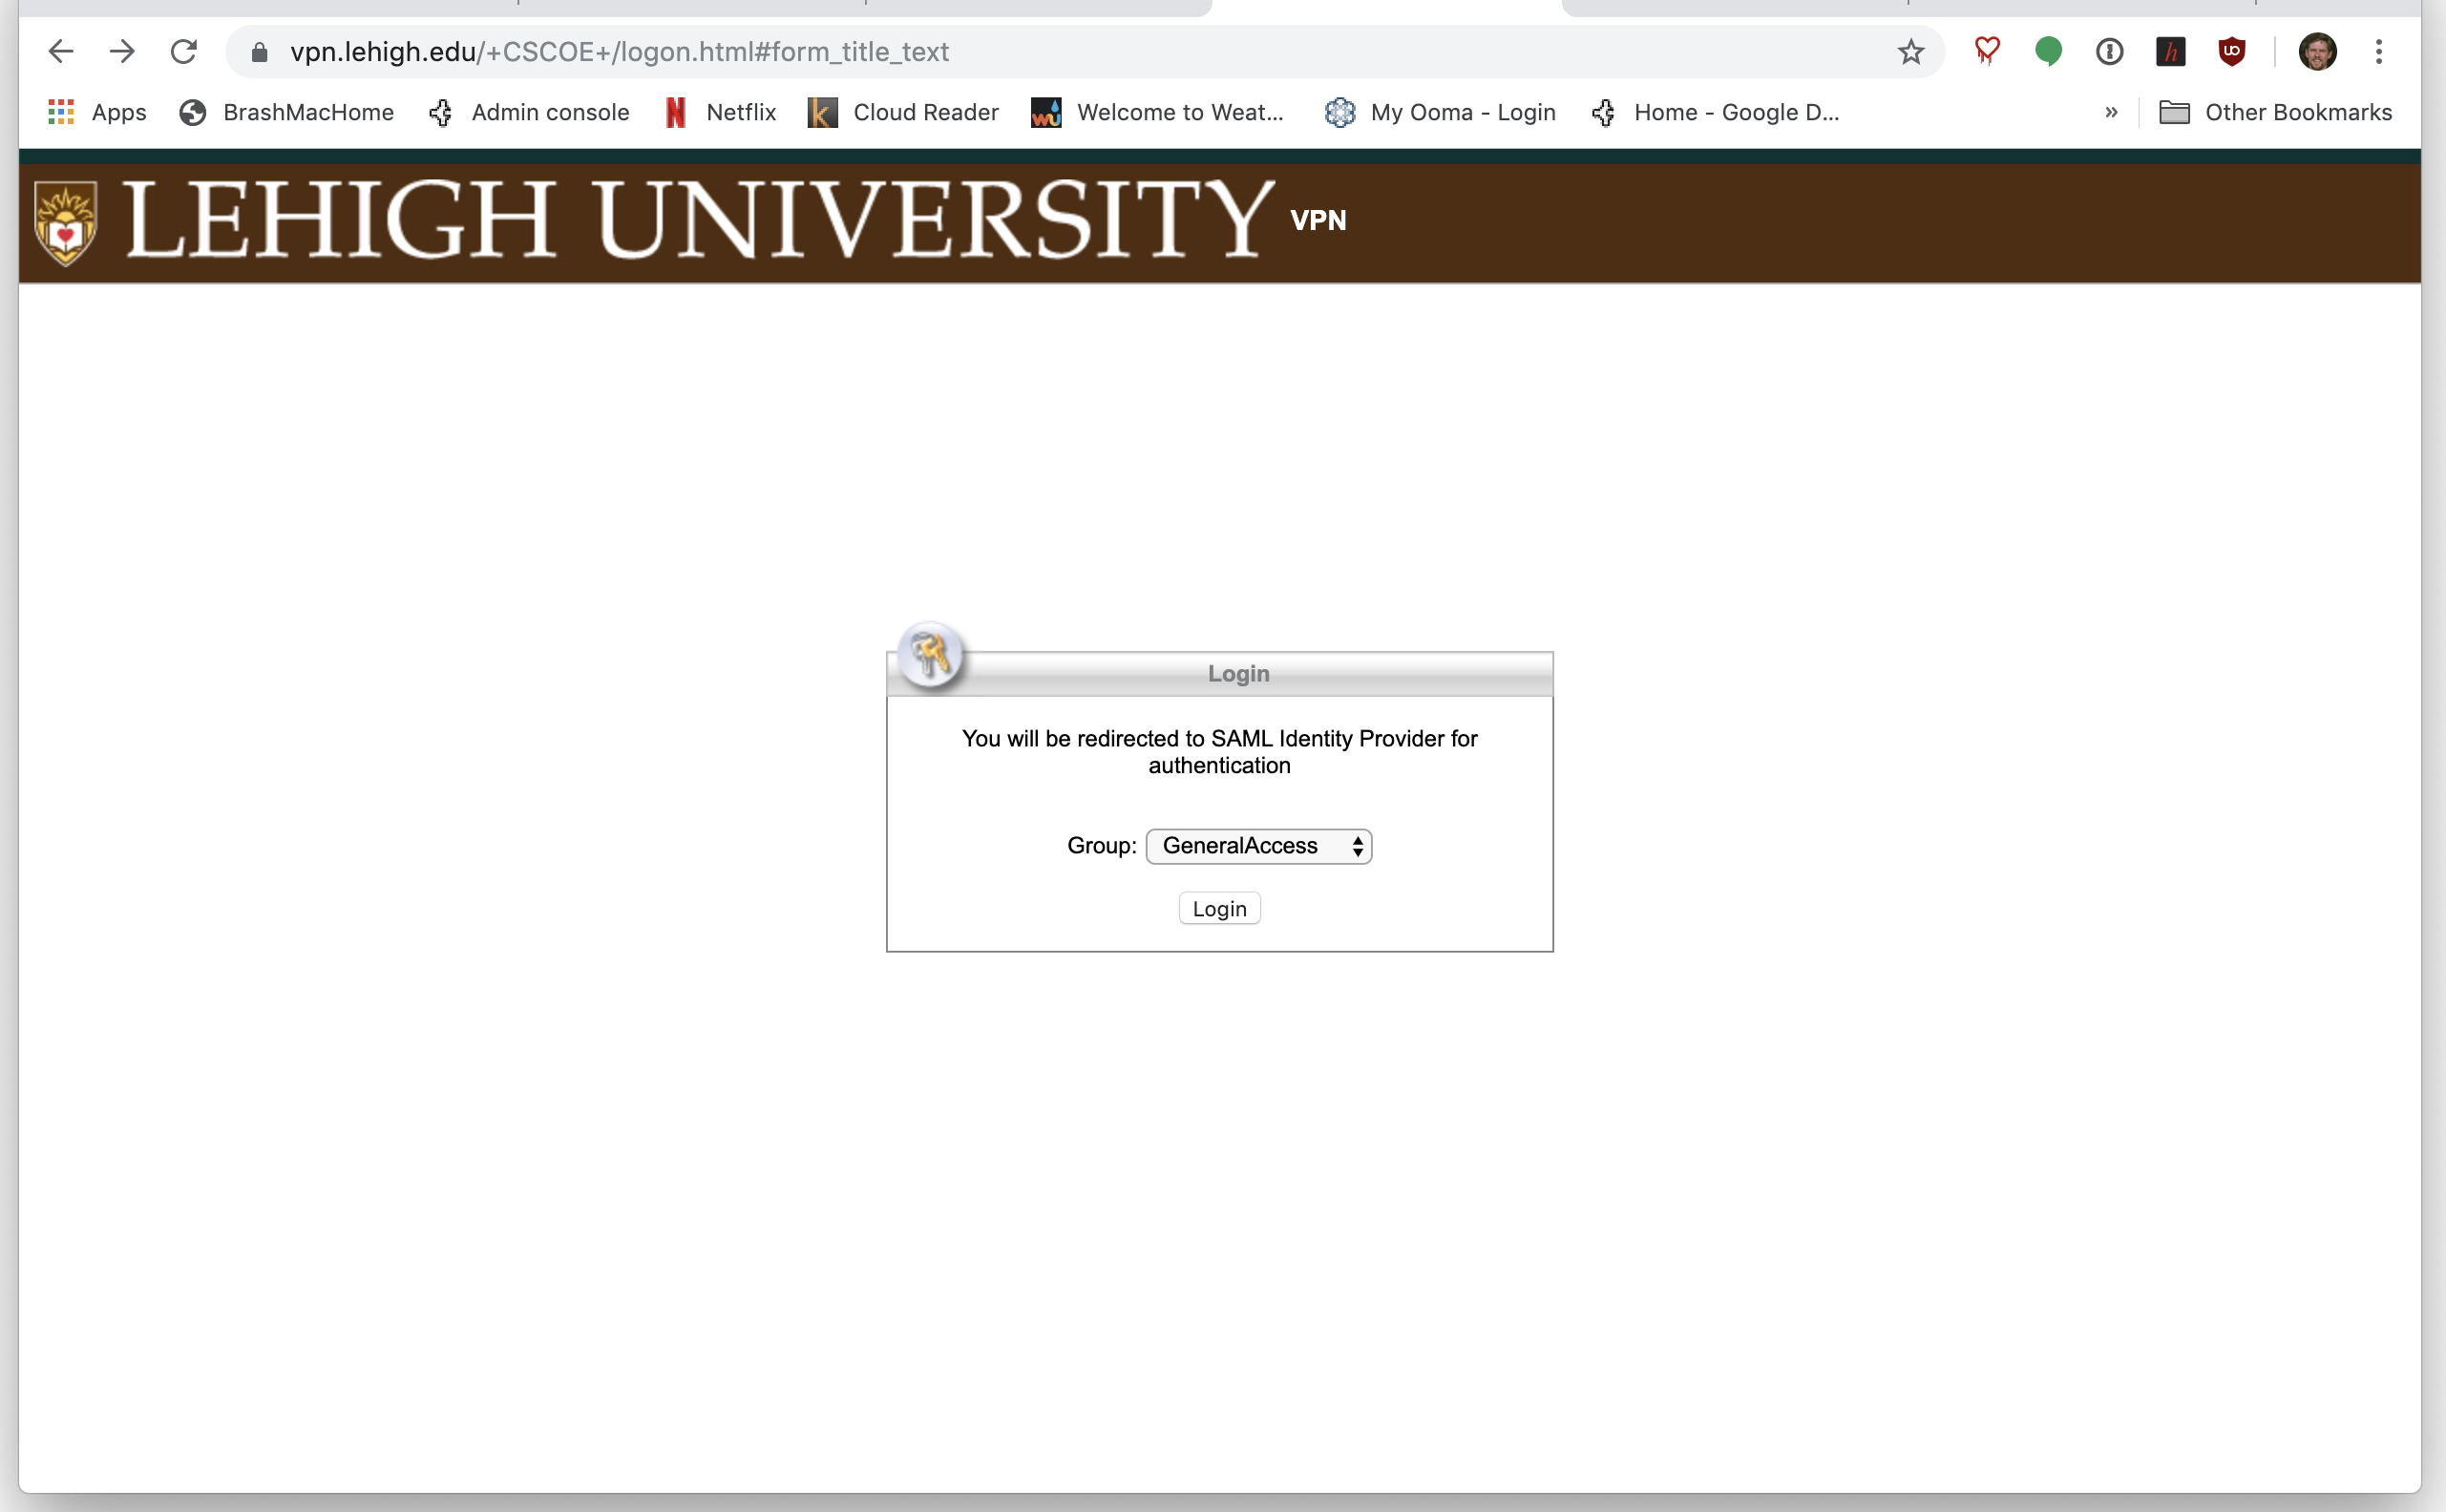
1. Open a web browser, and enter "vpn.lehigh.edu" into the address bar. Click 'Login' and enter your Lehigh username and password, and follow prompts for Two-Factor Authentication.
2. In the resulting window, click 'Download for <your OS>' button. An installation program will be downloaded for you to run.
3. Click "Instructions" and scroll down to display additional help for running the installation program.
Note: Linux users will receive a shell script file to download, but valid linux instructions may not be displayed. Proceed as follows:
- Change to the directory with the downloaded script (e.g. "/home/<my_username>/Downloads)
- $ cd ~/Downloads
- Set the file to be executable
- $ sudo chmod a+x anyconnect-linux...sh
- Run the script to install the software
- $ sudo ./anyconnect-linux...sh
4. Once your installation program has finished, find and run Cisco AnyConnect via your Start menu, or from your Applications folder, or 'Activities' shortcuts.
In the first window, type 'vpn.lehigh.edu', and click 'Connect'.
5. Two windows will open next, but one may be hard to see. One is the Lehigh Single-SignOn (SSO) window, and the other is a 'Cisco AnyConnect' window for selecting the the VPN's connection mode.
First, click on the 'Cisco AnyConnect' window, and make sure you've got the correct 'Group' selected on the 'Group' pull-down.
Set it to 'Library/International' only if you're connecting to a Library Database or are using an unsecured public wifi connection.
Leave the default 'General Access' for any other situation.
Second, enter your Lehigh username and password into the SSO window, and click 'Login', and follow the Duo prompt to enter your second factor.
6. The Cisco AnyConnect client will show an icon with a lock, indicating a secure connection to the Lehigh LAN.


